
Plants are an important part of the ecosystem and equally
interesting. (For instance, did you know that plants can actually tell the time
similar to how animals have circadian rhythms? Click here to find out more!)
So here’s a simple exploratory activity I would like to
share with teachers. I worked with my own son to test out this activity. He
helped me to make some of the visuals for this post.
Activity: Making a Plant Terrarium (by Helen Boswell and her
son William)
Materials needed:
Large plastic juice bottle
ScissorsRocks or marbles
Soil
Seeds
1) Buy
juice that comes in a plastic bottle. Drink all of the juice and thoroughly wash
out the bottle.

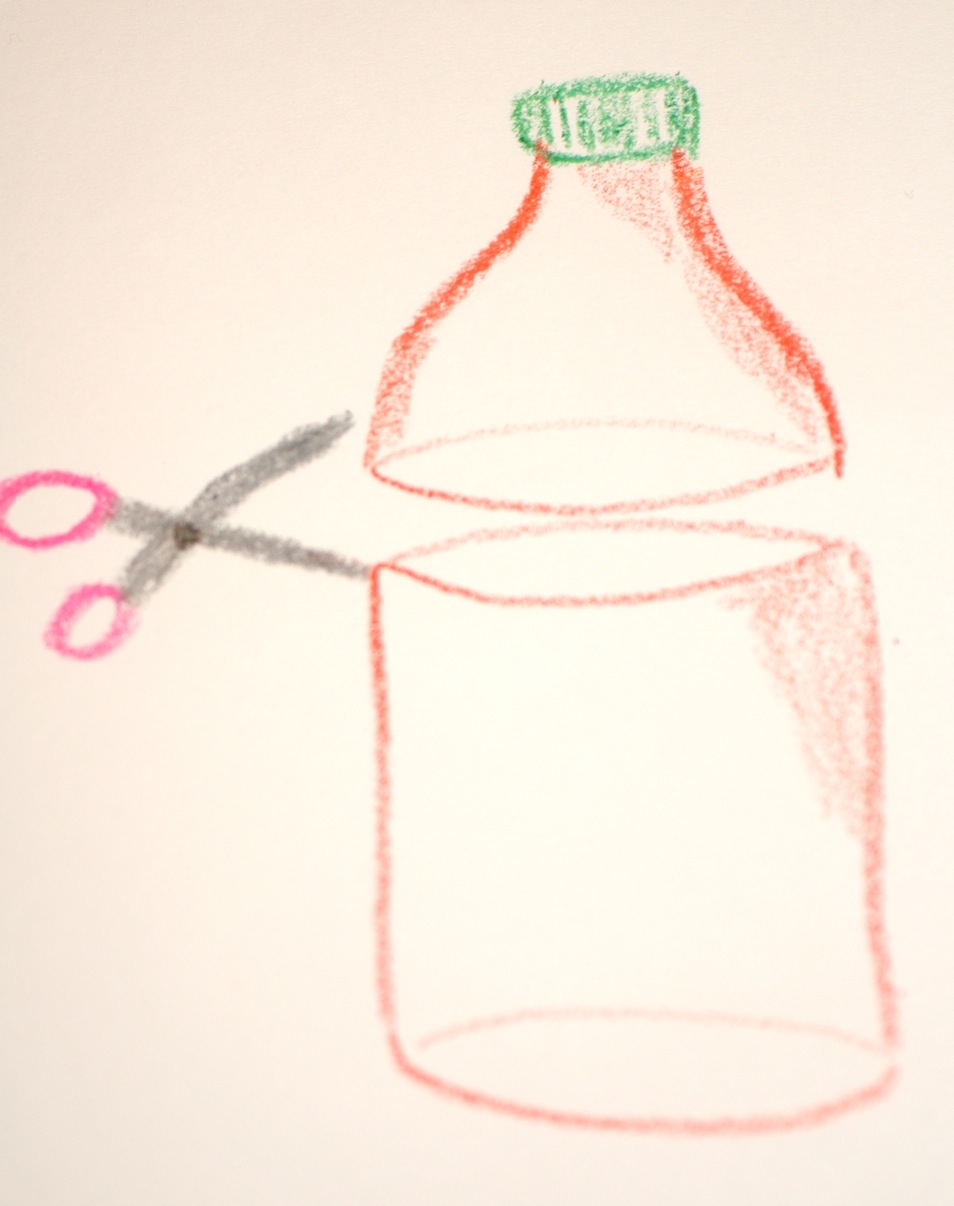
2) Remove
the label and cut the top off the bottle, about 1/3 of the way down.
3) Fill
the bottom of the bottle approximately an inch high with small, smooth rocks.
Marbles work well, too, but it’s more fun to collect your own rocks from
outside. The rocks will serve to allow drainage of water from the soil inside
the terrarium. Add approximately 3-4 inches of potting soil to the top of the
rocks. Water the soil so that the layer
of rocks is wet. The soil should be
moist from the watering but should not be muddy.

4) Now
for the most fun part (aside from drinking all of that juice). Okay, I’ll
rephrase – here’s the most fun and exploratory
part of this activity. If you’re an educator, buy some seeds and remove them
from the packaging (try different things – grasses, flowering plants) or go to
your local nursery and get some fern or moss spores (ferns and mosses do
amazingly well in terrariums). Have your students plant the mystery seeds or
spores in their terrariums and keep track of their growth. Try to identify the
plants as they grow and develop. Or go on a nature walk and find some plants!
They need to be very small – make
sure you get the roots! – and plant them in your terrarium to monitor their
growth and development.

5) Place the bottle
top (including the lid) back onto the bottom of the juice bottle. Unscrew the
lid to add water to the soil through the opening of the bottle whenever the
soil appears dry. After the first initial waterings, you won’t have to water
very much at all, because the closed bottle will keep the moisture in the
bottle!
Keep your
terrarium in a well-lit area, but not direct sun, as the inside of the bottle
will get very hot if it’s placed in the sun.

William wanted me to share with you a picture of his
terrarium (shown above with the top off). We found some tiny ferns (no bigger
than his pinky nail) and planted them and this is what it looks like now! We
water it about once a month. It’s a great way to spark a student’s interest in
plants, and especially great for his or her parent who might not have the best
of green thumbs!
William's terrarium is adorable! What a lovely project.
ReplyDeleteThis is a fun idea, especially coming up on winter. Would be nice to see some green amid the gray.
ReplyDelete